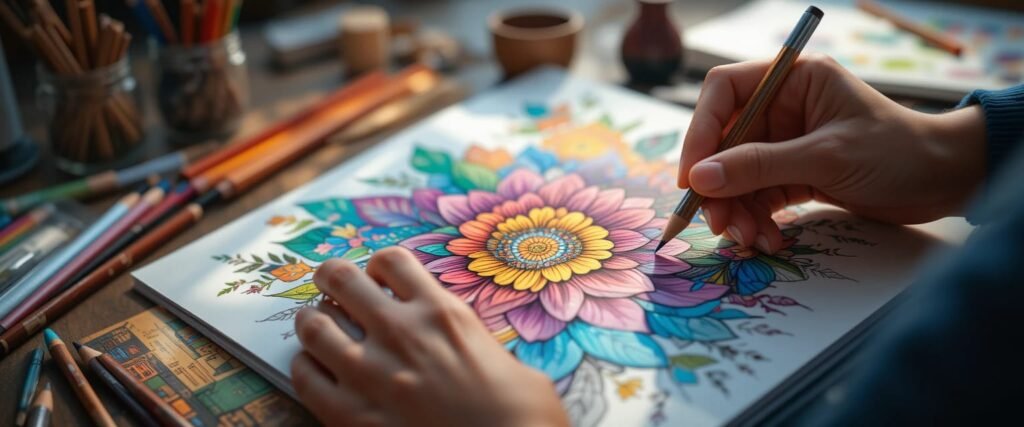
Are you ready to transform your coloring projects from flat to fantastic? Whether you’re a seasoned colorist or just picking up your first set of pencils, mastering a few essential coloring techniques can dramatically elevate your artwork. This comprehensive guide will help you add incredible depth, dimension, texture, and realism to your creations, turning simple pages into stunning masterpieces. Get ready to unlock new levels of creativity and make your colors truly sing!
Let’s dive into the core techniques that form the foundation of beautiful coloring. Each one offers a unique way to manipulate color and create stunning visual effects.
1. Shading: Creating Depth and Dimension
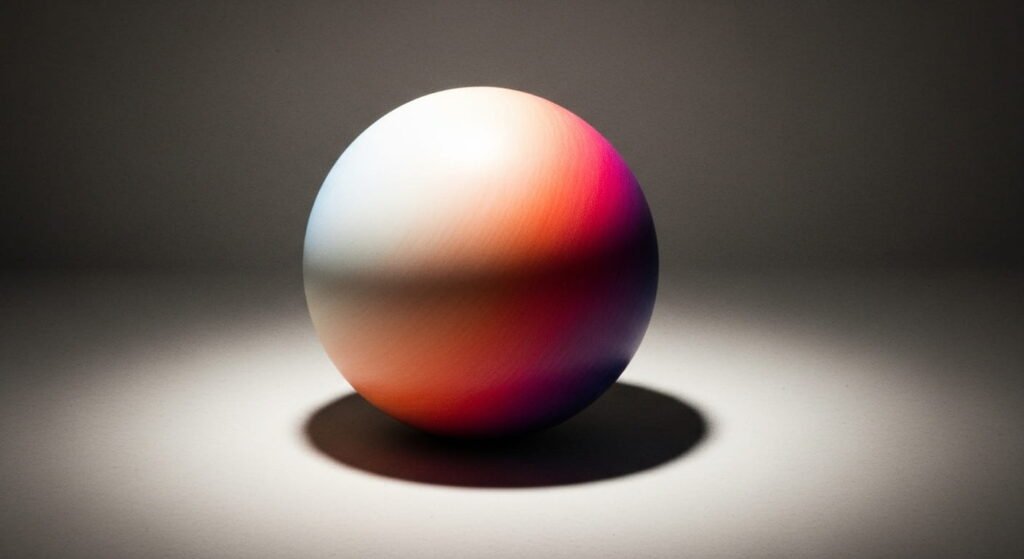
Shading is perhaps the most fundamental technique for bringing your coloring to life. It’s all about mimicking how light interacts with objects, creating the illusion of three-dimensionality on a two-dimensional surface. By strategically adding darker tones in areas where light is blocked and lighter tones where it hits directly, you can make objects pop right off the page.
- What is Shading? Shading involves varying the pressure or layers of your coloring medium to create gradients from light to dark. It defines form, suggests texture, and adds a sense of realism. Think about a round apple – it’s not just red; it has darker areas where it curves away from the light and brighter spots where the light catches its surface.
- How to Shade Effectively:
- With Pencils: Apply light pressure for initial layers, then gradually increase pressure for darker areas. Use circular motions or parallel strokes for smooth transitions. Experiment with different pencil hardnesses (H for lighter, B for darker).
- With Markers: For alcohol-based markers, use a lighter color as a base, then layer darker shades over it while the ink is still wet to allow for blending. For water-based markers, you can blend with a damp brush or a colorless blender pen.
- With Paints: Use water or a medium to dilute your paint for lighter washes, and apply more concentrated paint for darker tones. Blend colors while wet for seamless transitions.
- Tips for Perfect Shading:
- Identify Your Light Source: Before you start, decide where the light is coming from. This dictates where shadows and highlights will fall.
- Build Layers Slowly: It’s easier to add more color than to remove it. Build up your shading in thin layers.
- Use a Colorless Blender: For pencils and markers, a colorless blender can help smooth out harsh lines and create seamless gradients.
- Consider the Object’s Form: Does the object curve, or is it flat? The direction and intensity of your shading should follow its contours.
2. Layering: Building Richness and Vibrancy
Layering is the secret to achieving rich, deep, and vibrant colors. Instead of pressing hard with a single color, layering involves applying multiple thin coats of different or similar colors. This technique allows light to pass through the layers, reflecting back to create a luminous effect.

- Understanding Layering: Layering builds complexity and depth. It can be used to create new colors by overlapping existing ones, or to simply intensify a single hue.
- Layering Techniques:
- Light to Dark: Start with your lightest color, apply it evenly, then gradually add darker shades on top. This provides a smooth transition and prevents muddy colors.
- Color Combinations: Experiment with unexpected combinations. For example, a light yellow layer under an orange can make the orange glow, while a touch of blue under green can create a deeper, more natural shade.
- Achieving Smooth Transitions: Use very light pressure and consistent strokes for each layer. The goal is to build up the color gradually, not to saturate the paper immediately.
3. Blending: Seamless Color Transitions
Blending is the art of smoothly transitioning from one color to another, or from one shade to another within the same color family. It eliminates harsh lines and creates a professional, polished look.
- What is Blending? Blending means mixing colors directly on your paper to create a continuous gradient without noticeable shifts.
- Blending Methods:
- Pencil Blending: Use light, circular motions to merge two colors. You can also use a colorless blender, a tortillon (paper stump), or even a white or very light-colored pencil to blend.
- Marker Blending: For alcohol markers, apply a lighter color next to a darker one, then use the lighter marker to “pull” the darker color into the lighter area. For water-based markers, use a wet brush to blend.
- Solvent Blending: Some mediums, like colored pencils, can be blended with solvents like mineral spirits (use in a well-ventilated area!).
- Tools for Blending: Beyond the obvious, consider cotton swabs, tissues, or even your finger (though be careful of oils) for soft blending effects.
4. Stippling: Adding Unique Texture
Stippling is a fascinating technique that uses tiny dots to create texture and shading. It’s perfect for adding a unique, almost pointillist, effect to your artwork.
- The Art of Stippling: Instead of strokes, stippling relies on applying countless small dots. The closer together and denser the dots are, the darker the area appears. Spaced-out dots create lighter tones or textures.
- How to Apply Stippling: Use a fine-tipped pen, marker, or pencil. Practice varying the density of your dots to create different values and textures.
- Creative Uses for Stippling: Excellent for depicting rough textures like stone, foliage, or even a starry night sky.
5. Hatching and Cross-Hatching: Dynamic Lines
Hatching and cross-hatching use parallel lines to create shading and texture. They add a dynamic, energetic feel to your coloring.
- Defining Hatching Techniques: Hatching involves drawing a series of parallel lines in one direction. The closer the lines, the darker the tone.
- Mastering Cross-Hatching: Cross-hatching takes it a step further by layering a second set of parallel lines over the first, but in a different direction (often perpendicular). This creates even darker tones and richer textures.
- When to Use Hatching: Ideal for adding depth to fabric, wood grain, or creating a sense of movement in your lines.
6. Outlining: Defining Shapes and Forms
While sometimes overlooked, a well-executed outline can truly define the shapes and forms within your artwork, making them stand out.
- The Purpose of Outlining: Outlining involves tracing the edges of an object to give it a crisp, finished look. It separates elements and adds clarity.
- Tips for Clean Outlines: Use a steady hand and consistent pressure. Practice drawing smooth, continuous lines.
- Varying Line Weight for Impact: Don’t be afraid to vary the thickness of your outlines. A thicker line can make an object feel closer or heavier, while a thinner line can make it recede or feel delicate.
Advanced Tips & Tricks for Elevating Your Coloring
Once you’ve got the basics down, it’s time to experiment and push your boundaries!

- Combining Techniques for Complex Effects: The real magic happens when you start combining these techniques. Use layering for a base color, then add shading with cross-hatching, and finally define with a crisp outline. Play around and see what unique effects you can achieve!
- Utilizing White Space: Don’t feel every part of your drawing needs color. Strategic use of white space can make your colored areas pop and give your eyes a place to rest.
- Experimenting with Different Mediums: These techniques aren’t exclusive to colored pencils. Try them with watercolors, pastels, markers, or even digital art programs. Each medium offers a unique feel and allows for different expressions of these techniques. Looking for more insights on choosing your tools? Check out our article on Choosing Coloring Mediums: Pencils, Markers, Crayons for a detailed guide!
Common Questions About Coloring Techniques (FAQ)
We often get asked about specific challenges in coloring. Here are answers to some common queries:
- Q: How do I prevent bleeding with markers?
- A: Use paper designed for markers (thicker, less absorbent). Work in light layers, allowing each to dry slightly. Consider using a “bleed-proof” marker barrier on the back of your page if necessary.
- Q: What are the best papers for different techniques?
- A: Smooth paper is great for detailed work and blending pencils. Textured paper (like watercolor paper) holds layers well and adds character, especially for paint or heavy pencil application.
- Q: Can these techniques be applied to digital coloring?
- A: Absolutely! The principles of light, shadow, layering, and blending are universal across traditional and digital mediums. Digital tools often offer even more precise control over these effects.
Practice Makes Perfect

Mastering coloring techniques is a journey, not a destination. Each stroke, each blend, and each layer you apply builds your skill and confidence. Don’t be afraid to experiment, make mistakes, and most importantly, have fun! The more you practice these techniques, the more intuitive they will become, allowing you to express your artistic vision with greater freedom and precision.
We love seeing your creations! Share your masterpieces with us on Facebook and Pinterest. Happy coloring!